Run a Backup Restore Drill Before You Need Your Files
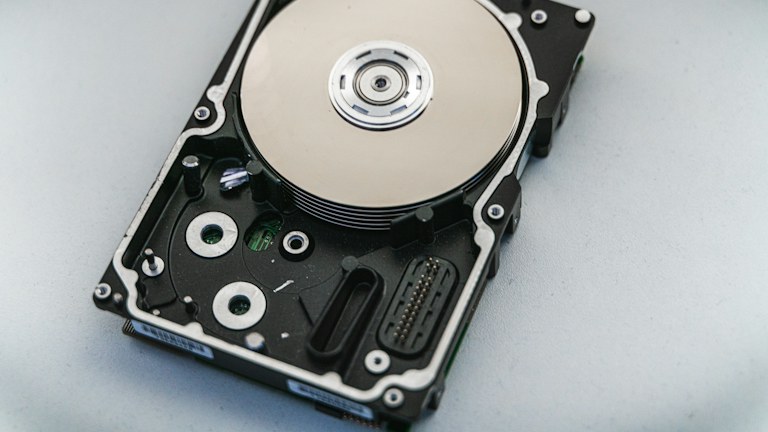
Photo: Nick / Unsplash License. Stock photograph for illustration; no product endorsement is implied.
A backup notification answers a narrow question: did a process finish? It does not tell you whether you can recover the right version of an important document, find a missing folder, or open the result on a working computer. A restore drill closes that gap. It gives you practice while the original files are still safe and there is no deadline forcing hurried decisions.
The exercise does not require pretending that your entire computer has failed. Start with a small, representative sample and restore it somewhere separate. The useful outcome is a written recovery path that you understand, including the account, drive, application and permissions involved. A complicated backup arrangement is much less reassuring when nobody remembers how to use it.
In this guide
Choose files that represent real work
Pick several different kinds of material: an ordinary document, a spreadsheet with formulas, a photograph, a small folder with subfolders, and a file that changed recently. Include something that lives outside your usual Documents folder if that location matters to your work. A successful test of a single empty text file will not tell you much about a large photo library or a specialist application project.
Write down where each original lives and why you selected it. Avoid using your only copy of anything as an experimental object. If you want to test recovery of a deleted file, create a disposable sample, allow it to enter the backup, and then delete that sample. Keep the actual business material untouched throughout the exercise.
Identify which system protects which location
People often have several systems running: a cloud synchronization folder, an external backup drive, an application with version history, and perhaps a separate online backup service. These are related but not interchangeable. Synchronization can carry an unwanted edit or deletion to another device; a recovery system needs a usable route to an earlier state.
Make a short map that names the location, the service protecting it, and the recovery method. For a Mac using Time Machine, consult Apple's current instructions for the installed macOS version. For a cloud document, check the provider's own version-history and deleted-item guidance. Record any retention limits that apply to your actual account rather than assuming that every past version remains available forever.
Restore to a separate destination
Create a clearly labeled test folder and use it as the destination when the recovery tool allows that choice. Do not replace a current working document just to demonstrate that restoration works. If the interface offers only an overwrite operation, stop and read the provider's instructions before proceeding. Exporting or duplicating the current file first may be necessary, depending on the tool.
Take notes as you work, especially at points where you had to search for a button, unlock a drive or switch accounts. Those small interruptions are valuable findings. They identify what a future recovery guide must explain. Screenshots can help, but exclude passwords, recovery codes, personal documents and any confidential file names before sharing them with another person.
Open the recovered material
A file name appearing in a folder is not the end of the test. Open the document and inspect meaningful content. Check a recent paragraph, a spreadsheet formula, a photograph at a useful size, and the contents of a restored subfolder. Specialist projects may depend on linked assets, fonts, databases or software versions that are not inside the main project file.
Compare the recovered version with the version you intended to restore. If the backup contains yesterday's work rather than this morning's, that may be consistent with its schedule, but it still defines how much recent work could be lost. Write the observed result plainly. Do not turn a successful partial recovery into a claim that every application and every file is protected.
Test access without exposing secrets
Recovery may require more than a password. An encrypted drive can require a key; a cloud service may require a second factor; a work account may depend on an administrator. Check that you know the legitimate recovery route and that authorized people can reach the instructions when needed. Store sensitive credentials in an appropriate secure system rather than inside the ordinary recovery checklist.
For a shared business workflow, establish who is allowed to restore data and who should be contacted first. A colleague should not have to guess whether recovering an older shared folder would disrupt everybody else's current work. The drill should improve access planning while respecting permissions, not encourage copying protected data into a convenient but unauthorized personal account.
Measure the useful parts of the exercise
Record how long it took to locate the backup, begin restoration and obtain usable files. Separate waiting time from active effort. A large transfer may take time without requiring attention, while a missing account detail can block everything. These observations are more helpful than a single total that hides where the actual difficulty occurred.
Also record what was not tested. Perhaps you restored individual documents but did not test a full computer replacement, or verified a local drive but not remote access while traveling. That limitation does not make the drill worthless. It gives you a sensible next exercise and prevents a small success from creating a false sense of complete coverage.
Work through a realistic example
Imagine that a presentation contains an unwanted revision and a supporting image has disappeared. Restore the earlier presentation and the image into the test folder. Open the presentation, confirm that the intended slides are present, and check whether the image is embedded or linked. If it is linked, repair the test copy's reference and document the dependency.
Now consider what would happen if the original laptop were unavailable. Could you reach the backup from another authorized device? Would the presentation software be available? You do not need to perform a full migration immediately, but answering those questions turns a file-recovery exercise into a practical continuity plan rather than a checkbox.
Leave a short recovery note
Finish with a note containing the date, the sample tested, the backup location, the recovery steps, the observed age of the restored data and any unresolved dependencies. Keep it brief enough to follow under pressure. Put a reminder beside each unresolved issue, with an owner if more than one person is involved.
Repeat the drill after a major storage change, a new backup provider or a significant shift in the files you create. A periodic reminder is useful too, but the point is not collecting a long history of successful tests. It is keeping the recovery route familiar and checking that the files you depend on can still return in a usable form.