Record a Software Walkthrough That a Colleague Can Follow
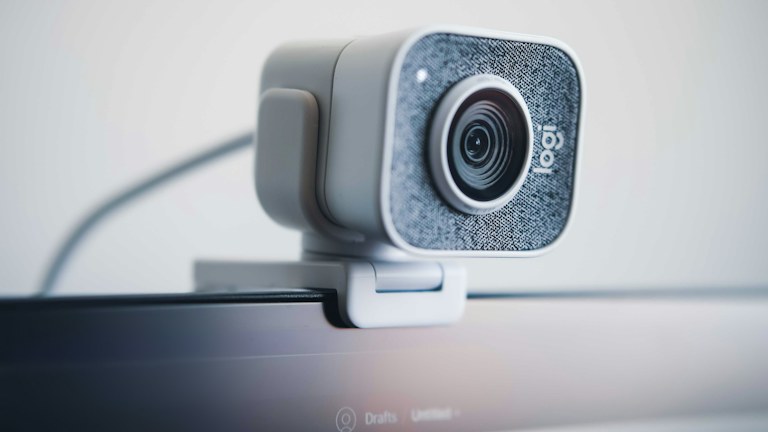
Photo: Emiliano Cicero / Unsplash License. Stock photograph for illustration; no product endorsement is implied.
A screen recording is useful when a task is easier to show than describe, but an unplanned recording can make a simple process feel harder. The viewer watches the presenter search for files, correct mistakes and move through menus without knowing which actions matter. A good walkthrough reduces that uncertainty by showing one clear outcome and explaining the decisions behind the visible steps.
Treat the recording as a small piece of documentation. Decide who will use it, what they already know and what they should be able to do afterward. The result does not need elaborate editing. It needs a clean demonstration, understandable narration and enough written context to remain useful after the original conversation is forgotten.
In this guide
Choose one outcome for the recording
Define the task narrowly, such as submitting a completed request, updating a weekly chart or finding the approved version of a document. A recording that tries to introduce an entire application can become too long to navigate. If several independent tasks are involved, create separate recordings or clearly marked chapters rather than one continuous tour.
Write the expected starting point and finish state. The viewer should know which account or workspace to open and how to recognize that the task is complete. Include prerequisites such as permissions or a prepared input file. Missing prerequisites often cause more confusion than the visible steps because the viewer cannot reproduce the presenter's starting conditions.
Prepare a clean demonstration environment
Close unrelated windows and tabs, hide unnecessary notifications and use suitable sample data. Check the desktop, browser bookmarks and recent-file lists for information that should not appear. Screen recordings can expose details at the edges of the intended demonstration, especially when a dialog opens a different folder or the presenter switches applications.
Do not rely on later editing to remove every sensitive detail. Prepare an authorized demonstration account or a safe copy where practical. If the workflow requires real information that cannot be shared, consider whether a written guide or a controlled live demonstration is more appropriate. The convenience of video does not remove the need to protect the material visible on screen.
Outline the steps before recording
A short outline is usually enough: state the goal, show the starting point, demonstrate the important actions, explain exceptions and verify the result. Keep the outline beside the recording controls so you do not have to improvise the order. It can also become the written summary that accompanies the finished video.
Identify where a choice requires explanation. Clicking a button is visible; knowing why to choose one option rather than another may not be. Spend narration on those decisions instead of reading every label aloud. If an action involves waiting, explain what the viewer should expect and what would indicate a problem rather than filling the pause with unrelated commentary.
Make the screen easy to read
Record only the relevant window or area when your software supports it. Enlarge the interface enough for the intended viewing size and keep the cursor movement deliberate. A full desktop captured at a very large resolution can become unreadable when embedded in a small player. Check a sample at the size your colleague is likely to use.
Avoid excessive zooming, rapid scrolling and unnecessary pointer circles. These effects can distract from the task or make the viewer lose their place. Use a brief pause before and after an important action. If a small detail is essential, explain it and consider adding a still image or written callout that the viewer can inspect without repeatedly pausing the video.
Record clear, direct narration
Speak at a pace that allows somebody to follow the interface. Name the control before using it when that helps orientation. Explain errors calmly and distinguish an expected warning from a genuine failure. If you make a substantial mistake, restart the relevant section rather than leaving a long recovery sequence that the viewer might mistake for part of the normal task.
Test the microphone and listen to a short sample before recording the whole guide. Background noise, echo and low volume can make otherwise useful instruction difficult to follow. You do not need studio production, but the words must be understandable. A quiet room and consistent distance from the microphone often matter more than decorative visual effects.
Verify the result on screen
End the demonstration by checking that the intended outcome occurred. A saved confirmation, an updated record or a correctly exported file gives the viewer a concrete finish state. Avoid ending immediately after the final click if the system may still be processing or if another confirmation is required.
Explain the most likely exception without turning the guide into a troubleshooting encyclopedia. For example, state what to do if the expected button is missing because the account lacks permission. Link to a separate support route or written note for less common problems. The main walkthrough should remain easy to follow from beginning to end.
Add captions and a written companion
Provide captions when the recording will be shared, and review automatically generated text for names, product terms and important instructions. A caption error can change the meaning of a step. Include a short written summary with the task, prerequisites, main steps and the location of the result. This gives people another way to use the guide without watching the entire video.
If the recording is long enough to need navigation, add timestamps or chapters. Use descriptive labels that identify tasks rather than vague section numbers. A colleague returning later may need only one step. Good navigation turns the recording into a reference instead of a sequence they must repeatedly watch from the start.
Test with a new viewer
Ask a colleague who did not help create the recording to follow it using safe test material. Note where they pause, rewind or ask for clarification. These points often reveal missing prerequisites or an unexplained choice. Revise the relevant section rather than adding a long disclaimer at the beginning that viewers will struggle to remember.
Check the sharing link and permissions from the recipient's perspective. Confirm that the video and companion notes open in the intended environment. A clear guide behind an inaccessible account is still an incomplete handoff. Keep the recording in a stable project location rather than leaving the only copy attached to a temporary message.
Give the guide an owner and review date
Software interfaces change, so record the application context and the date of the walkthrough. Name the person or role responsible for updating it. If a future change makes the video misleading, replace or label it instead of leaving two equally plausible versions in circulation.
A good recording is short enough to use, specific enough to reproduce and honest about its prerequisites. Its value comes from reducing the next person's uncertainty, not from demonstrating every feature you know or making the production look elaborate.