Check a Video Call Setup Before an Important Remote Meeting
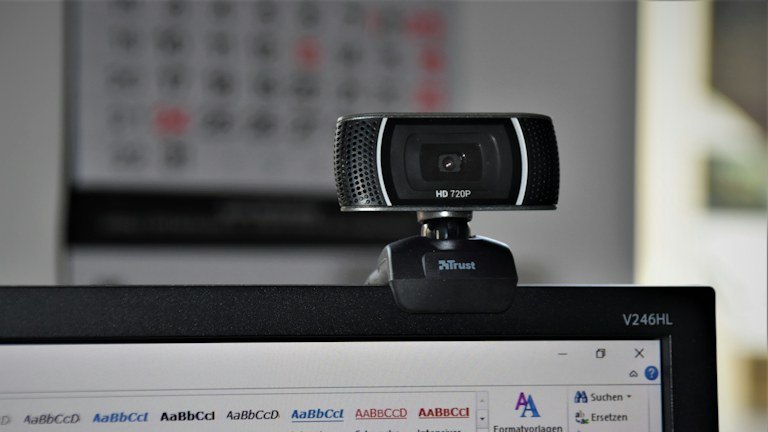
An important remote meeting is a poor place to discover that the microphone belongs to an unplugged headset or that screen sharing needs a permission you cannot grant quickly. A short rehearsal can reveal those problems while there is still time to fix them. The best check uses the same computer, room, network, and accessories you expect to use for the actual call.
Focus on being heard, seeing the material, joining with the correct identity, and recovering from a failure. A polished background is less useful than intelligible audio and a working fallback. You do not need an elaborate studio to run a clear meeting, but you do need to know how your particular setup behaves.
Rehearse the entry path
Open the invitation from the application where you will receive it on the day. Check that the link opens the intended meeting service and account. Work and personal browser profiles can send you into different organizations, and an account mismatch may affect permissions or the name other participants see.
Confirm the meeting time and time zone, especially when invitations cross regions. Check whether you need to sign in, install an approved application, enter a passcode, or wait for a host. Do this early enough to ask the organizer about a problem. Avoid making major software changes immediately before a high-stakes call unless they are required and you have time to test afterward.
Use an official test facility where available. Zoom's test-meeting guidance describes a way to check connection, audio, video, and meeting controls before joining a real session. Other services may provide equivalent checks through their current documentation.
Prioritize microphone quality
Select the microphone explicitly rather than assuming the service chose the right one. Speak at your normal volume and distance. Listen to a recording or use the service's supported playback test. A moving input meter confirms sound is detected, but it does not tell you whether speech is clear or whether room noise overwhelms it.
Check for echo by using one audio connection in the room unless the equipment is designed for something more complex. Two nearby devices joined with active speakers and microphones can create feedback or repeated sound. If you join from a phone as a backup, understand how to keep one device muted or disconnected from audio.
Test the mute control and any physical mute switch on your headset. Know how to identify both states. A hardware switch can remain muted even when the meeting interface appears ready, and the reverse confusion can lead to unintended speech being transmitted.
Make the camera useful
Place the camera at a comfortable height and look at the preview. Ensure your face is reasonably visible and that a bright window behind you is not making the image difficult to read. A simple change in seating or lighting can be more effective than adding another virtual effect.
Inspect the background for information you do not intend to share. Whiteboards, documents, reflections, and other people may be visible. If using a blur or virtual background, move your hands and lean slightly to see whether it behaves acceptably. Do not rely on an effect to hide sensitive information that should not be in the frame.
Keep the setup comfortable enough for the meeting's length. A position that looks good for thirty seconds may encourage you to move out of frame after twenty minutes. The goal is natural communication, not holding an awkward pose throughout the call.
Test the material you will share
Open the actual presentation, document, or demonstration in advance. Share the intended window in a rehearsal and inspect the receiving view if you can. Small text may be readable on your own display but difficult for participants watching a compressed video stream or a phone screen.
Decide whether you need to share a window, a tab, or the entire display. Each has different privacy and usability implications. Close unrelated windows and pause notifications through your device's supported settings. Check that the material does not reveal private account details, internal links, or customer information during a demonstration.
If the presentation includes sound or video, test that specific content. Sharing a screen does not always include system audio automatically. Verify the relevant setting using the service's instructions, and prepare an alternative such as a direct approved link if playback is unreliable.
Prepare for connection trouble
Choose a fallback before the meeting starts. It might be a phone connection supported by the organizer, a second network you are authorized to use, or a colleague who can present the slides. Keep the meeting details somewhere accessible if the main computer stops working.
For important material, send or upload the approved document through the agreed channel beforehand. That lets participants follow along if screen sharing fails. Make clear which version is final so an older attachment does not become the accidental reference during the meeting.
Do not assume a speed-test result guarantees a trouble-free call. Local wireless conditions, competing activity, device load, and the meeting service can all affect the experience. A realistic rehearsal gives more useful evidence than a single headline number, though it still cannot eliminate every possible interruption.
Check accessibility and participation
Ask the organizer about captions, interpreters, dial-in access, or other participation needs in advance. Confirm which features are available to attendees and who must enable them. A host-only control is not useful if nobody responsible knows it needs to be turned on.
Read shared material aloud when its meaning would otherwise be lost to someone who cannot see it clearly. Use descriptive references such as “the second option in the pricing table” rather than “this one here.” Leave space for questions and explain how participants should request a turn.
Finish the rehearsal by writing a short setup note: chosen microphone, camera, sharing method, account, and fallback. Recheck those items shortly before joining, particularly if you unplugged equipment or changed rooms. A repeatable five-minute routine based on your own setup is more valuable than repeatedly troubleshooting from memory while other people wait.
If another person will take over presenting, rehearse that handoff too. Confirm they can access the correct file and have permission to share. Agree on a simple verbal cue so both people do not start talking or sharing at once. A smooth transition usually depends on this small agreement more than on advanced meeting features.
Illustrative stock photo: Waldemar Brandt / Unsplash. Unsplash License.